
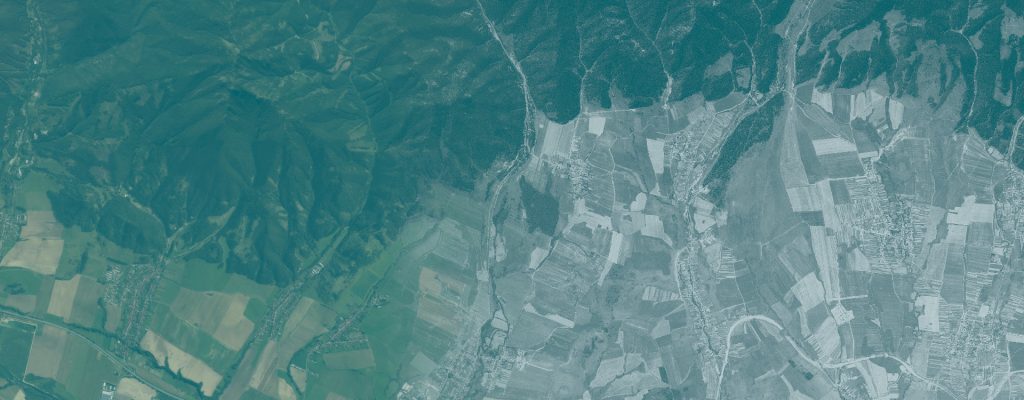
Mountain Forest Classification from Historical Satellite Imagery
Evaluating image-derived features for mountain forest classification with Random Forest models and spatial validation.
Use case
RETROFOREST
Author
Roman Sitko
Institution
Technical University in Zvolen, Slovakia
Research areas
Forest remote sensing; machine learning; image texture analysis; spatial validation; geoinformatics
Study area
High Tatras, Slovakia · Hrebienok, Bielovodská and Úplaz
Reference period
1975
Research question
How well can grayscale tone, image texture and optional terrain information distinguish mountain forest, dwarf pine and other land cover within and across historical KH-9 scenes?
Overview
Historical KH-9 imagery records fine spatial detail but provides a single panchromatic band. In mountain terrain, shadows and differences in illumination make forest, dwarf pine and other surfaces difficult to separate using brightness alone.
This use case evaluates image-derived feature families and translates the experiment into a documented classification workflow. Seven Jupyter notebooks cover input checks, feature generation, reference sampling, spatial validation, Random Forest training, and map export. The presentation examines both transfer to a scene excluded from training and adaptation using local reference samples.
Inputs and workflow
What you need
- Orthorectified single-band imagery with documented acquisition metadata and a verified coordinate reference system.
- Reference polygons, a shared class legend and quality-control masks.
- An optional elevation model for evaluating terrain information where valid coverage is available.
Main steps
- Check imagery, reference data, coordinate systems and input quality; create the project manifest.
- Generate local image features and texture measures; catalogue the selected features and optional terrain layers.
- Prepare reference samples and spatially separated validation folds.
- Train and validate the Random Forest for the selected scenes and represented classes.
- Export classified maps, exclusion masks and evaluation tables for the selected scenes.
What you get
- Classified GeoTIFF maps and masks explaining where pixels were excluded.
- Per-class precision, recall and F1, together with scene-level evaluation metrics.
- Saved models, manifests and processing records for reproducing the selected workflow.
Demonstrated example
In the presented three-class experiment, local image context and GLCM texture provided useful information beyond brightness alone. Transfer to Úplaz remained difficult for dwarf pine and other shrubs; local reference samples improved performance under the evaluated spatial-validation design. Terrain was evaluated as an optional source of information on samples with valid DEM coverage.
Interpretation and limits
The experiment and the reusable package have different evaluation settings. The experimental transfer test excluded Úplaz from training; the package defaults to pooling references from the available scenes. Transfer must therefore be selected explicitly.
Scores from selected reference samples do not establish whole-map accuracy, and performance must be evaluated for each scene and reference dataset. The package does not perform orthorectification or temporal change analysis.
Video demonstration
A recorded presentation of the classification problem, image features, validation design and experimental findings.
Materials
The supporting materials will be linked here as they become available.
Classification workflow
English edition with seven notebooks (00–06), documentation and an environment definition. Imagery and reference polygons are supplied separately.
Download workflow package (ZIP)User guide
Setup, input requirements, operation, evaluation and reuse of the seven-notebook workflow.
Download user guide (PDF)Presentation
Experimental design, image features, validation scenarios and results.
Download presentation (PDF)How to reuse this use case
Use the seven notebooks to evaluate features, classify new scenes, or compare classification results under matched legends and masks. Supply the imagery and reference data separately, configure the project paths, and choose the training and evaluation scenario explicitly. Follow the PDF guideline for environment setup and the 00–06 sequence.
When reporting results, identify the input datasets and acquisition dates, the workflow version, processing settings and evaluation scope. Keep the documentation with the files you reuse and follow the licence supplied with each resource.